Continuous Deployment From Github to a Raspberry Pi Zero 2 W With Azure DevOps
Ever wanted to deploy your fun project to your Raspberry Pi with Azure DevOps? Follow this guide where I'll take you from scratch to deployment on a Raspberry Pi Zero 2 W via GitHub and Azure Devops.
When writing my Discord bot, I wanted a seamless way to deploy new changes without having to ever touch my Pi. I've setup Azure DevOps for two workplaces in the past and I really like it (used it way back when it was TFS too!). So why not also use it for my small projects?
I'll be using my Discord bot, BrothermanBill as the example. Check out the code here:
 nikouu
Let's jump in!
Creating a Pipeline
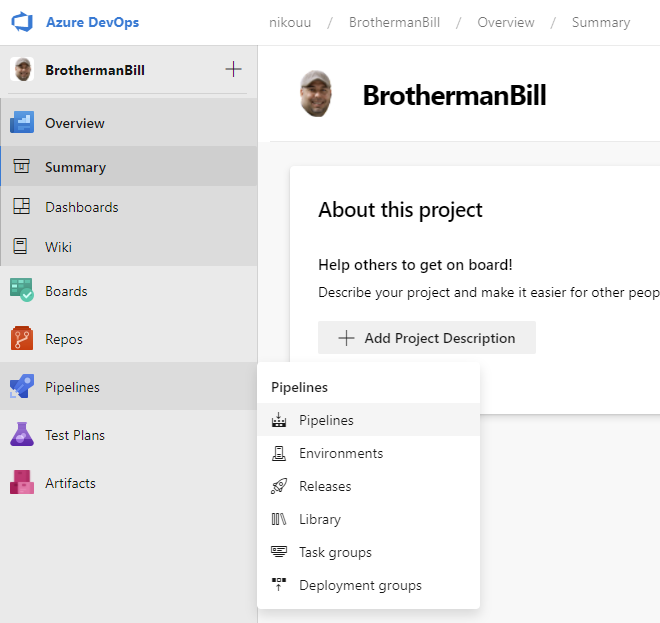
First we'll head over to Pipelines > Pipelines:
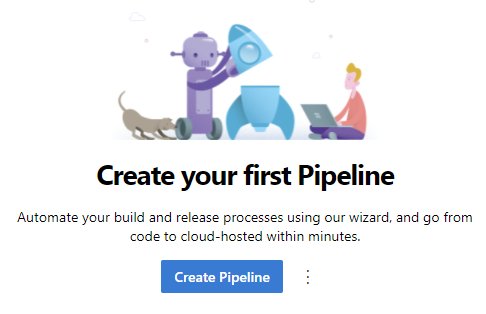
From here we can click Create Pipeline:
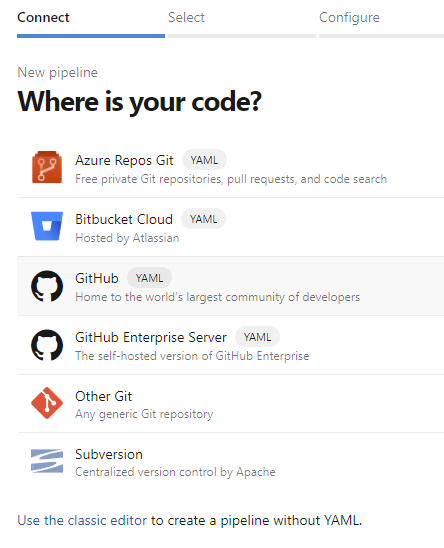
Pick where your code is from, I'll be using a project from Github:
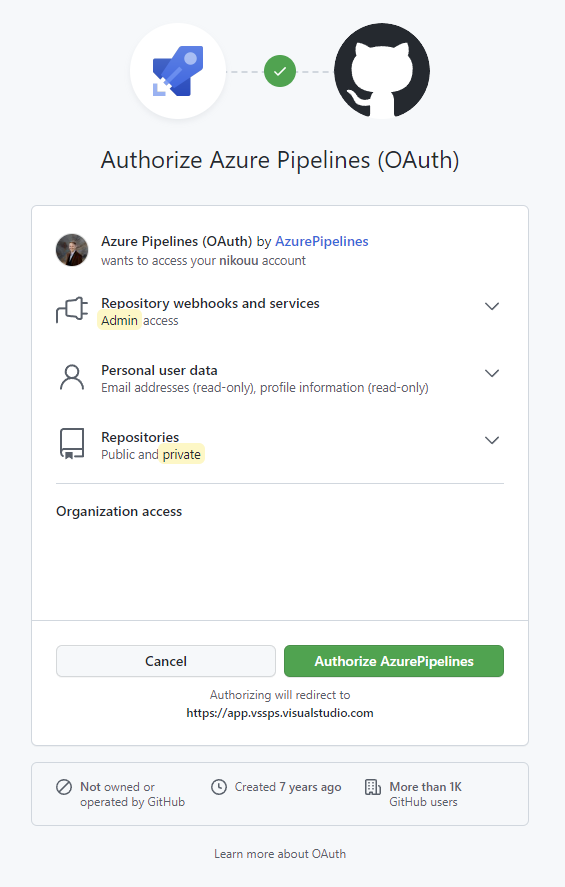
If connecting to Github for the first time, you'll need to authorize the Azure DevOps via OAuth:
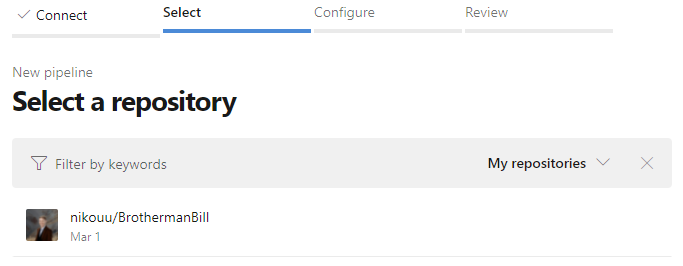
Then Azure DevOps will present a list of your repos you can pick from:
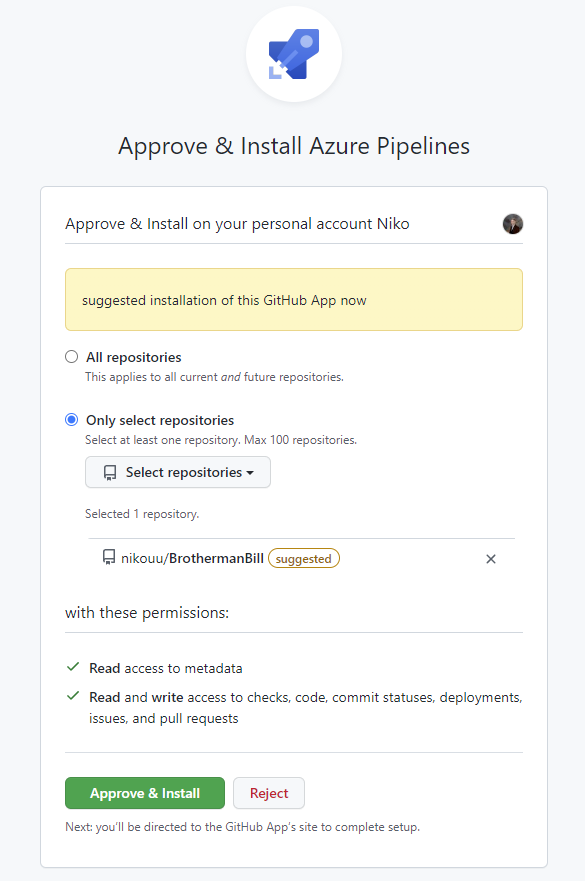
This will lead to another Github check for the Azure DevOps Github app:
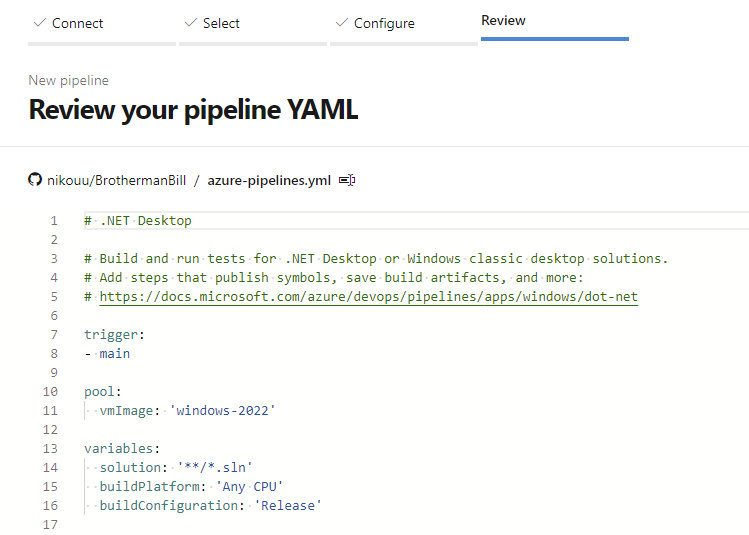
This will create a file called azure-pipelines.yml which will be committed to the root of your repo. This file will contain build pipeline settings.
From here, you can hit Run to create the pipeline.
Note: The next time you edit the pipeline, you will be asked one more time by Github to authorize.
This will save and run the pipeline. From here, we can begin to look toward the Raspberry Pi by setting it up as a deployment group.
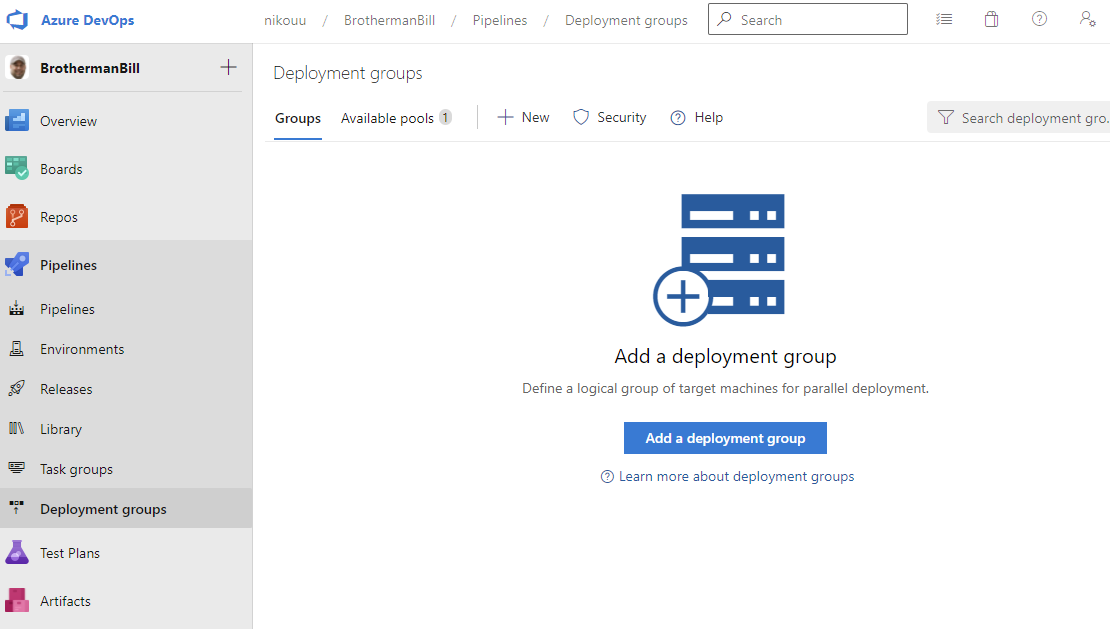
Creating a Deployment Group
Head over to Pipelines > Deployment groups then click Add a deployment group:
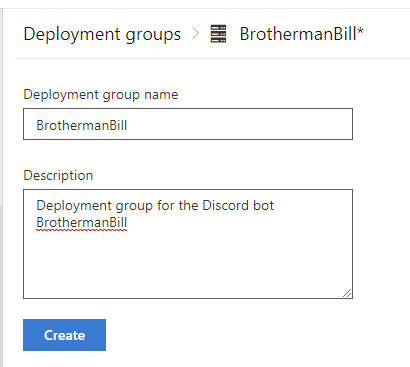
Add a name and a description and Create.
This will show the deployment group page for this group. Here we can get the install script for the agent. I do the following:
- Change the target to Linux
- Use a personal access token. This will create a new PAT under my own account which will last for a short time. I'll be extending the time it lasts and you can find more on the PAT documentation page. It may not be best practices to do this for a work environment, however this is my own little project and I understand the risks.
Note if you choose to use a PAT it will not be visible from the UI but if you click Copy script to the clipboard, it will be with PAT on the clipboard.
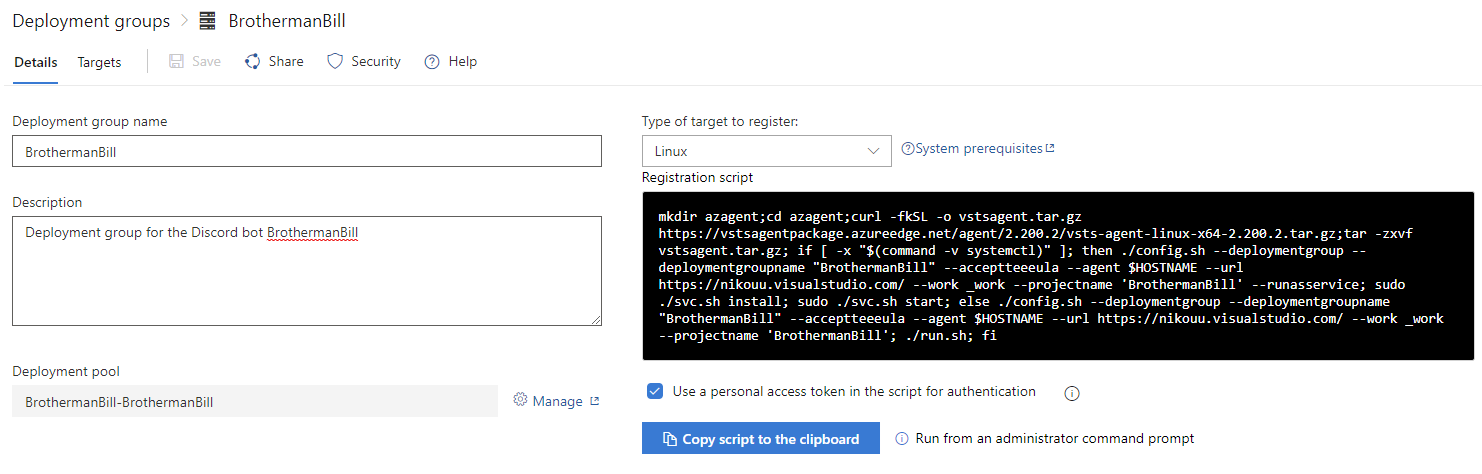
If you are going to run this on a Raspberry Pi Zero 2 W like me, you will need to make one change and all that credit goes to this page by Torben Pedersen:
 Torben Pedersen
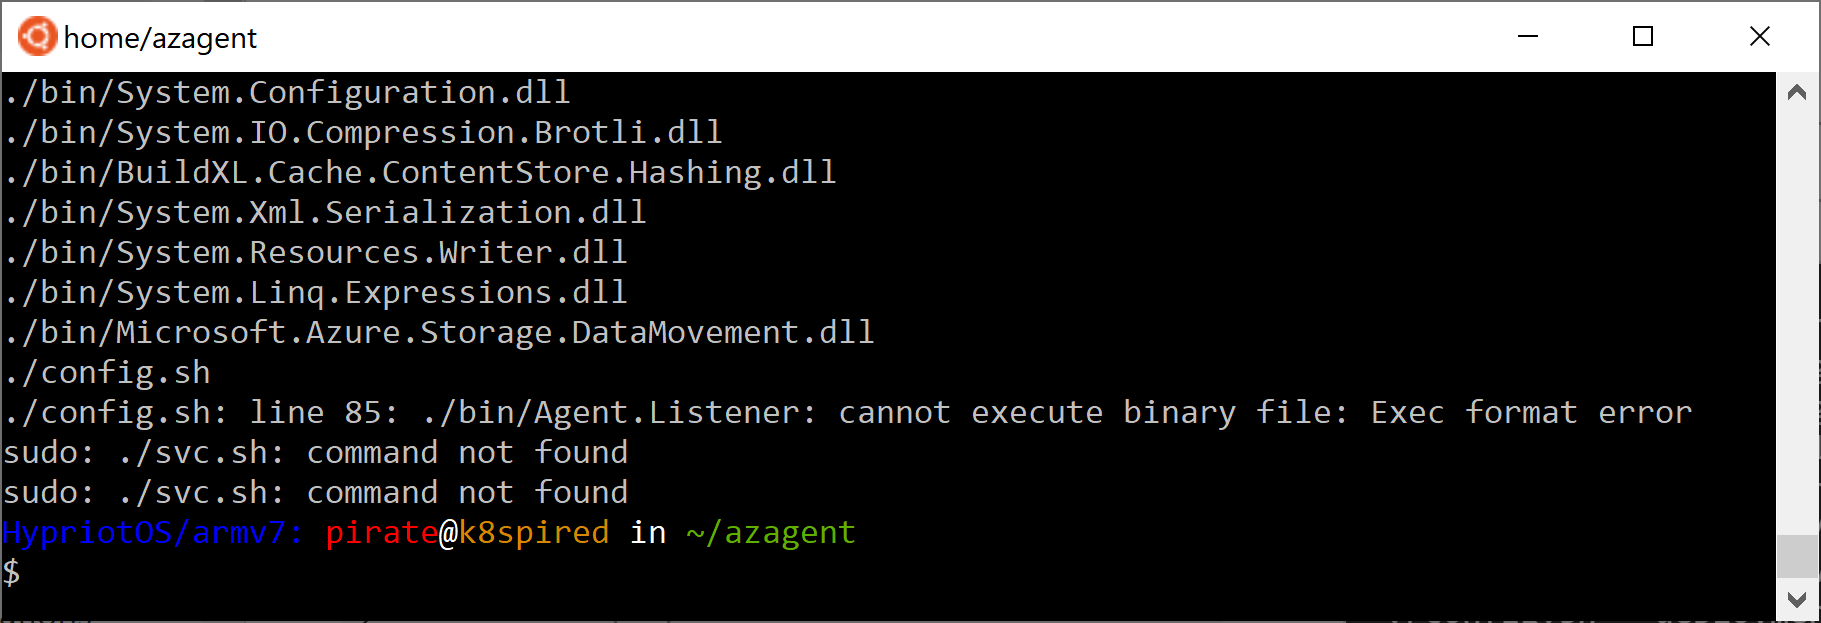
Where you need to change the binary to the ARM version.
Take this script into your Raspberry Pi and run it in a terminal. At the end it will ask if you want to setup deployment flags, in my case, I picked no.
Let's take a look at what this script does, line by line:
mkdir azagent # create folder
cd azagent    # enter folder
curl -fkSL -o vstsagent.tar.gz https://vstsagentpackage.azureedge.net/agent/2.200.2/vsts-agent-linux-arm-2.200.2.tar.gz # download agent binaries
tar -zxvf vstsagent.tar.gz # extract
if [ -x "$(command -v systemctl)" ]; then # tests if the agent can run as a service
	./config.sh --deploymentgroup --deploymentgroupname "BrothermanBill" --acceptteeeula --agent $HOSTNAME --url https://nikouu.visualstudio.com/ --work _work --projectname 'BrothermanBill' --auth PAT --token token --runasservice # sets up config
	sudo ./svc.sh install # installs the service
	sudo ./svc.sh start # starts the service
else
	./config.sh --deploymentgroup --deploymentgroupname "BrothermanBill" --acceptteeeula --agent $HOSTNAME --url https://nikouu.visualstudio.com/ --work _work --projectname 'BrothermanBill' --auth PAT --token token # sets up config
	./run.sh # simply runs the agent
fi
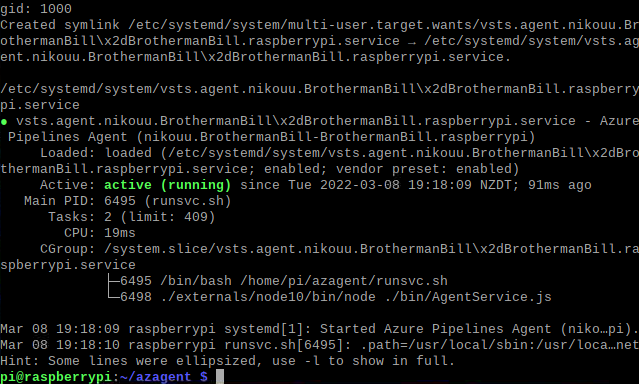
After it's done, my terminal:
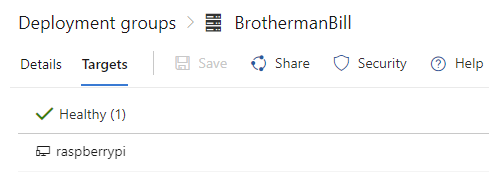
If we return to the Azure DevOps site in the Deployment groups area we left off, we can switch to Targets and see the Pi ready to go as an agent:
From here, we're ready to build the release pipeline to deploy our built code to our deployment group. (Technically it's still a group even if there is just one thing in it!)
Creating a Release Pipeline
Head over to Pipelines > Releases and click New pipeline:
There are a lot of options here but this one will end up simple. So for now just pick Start with an Empty job, name the stage "Deploy" and give the pipeline a name at the top.
We'll add our artifact, which is easy as we've already done a build earlier and Azure DevOps can find it.
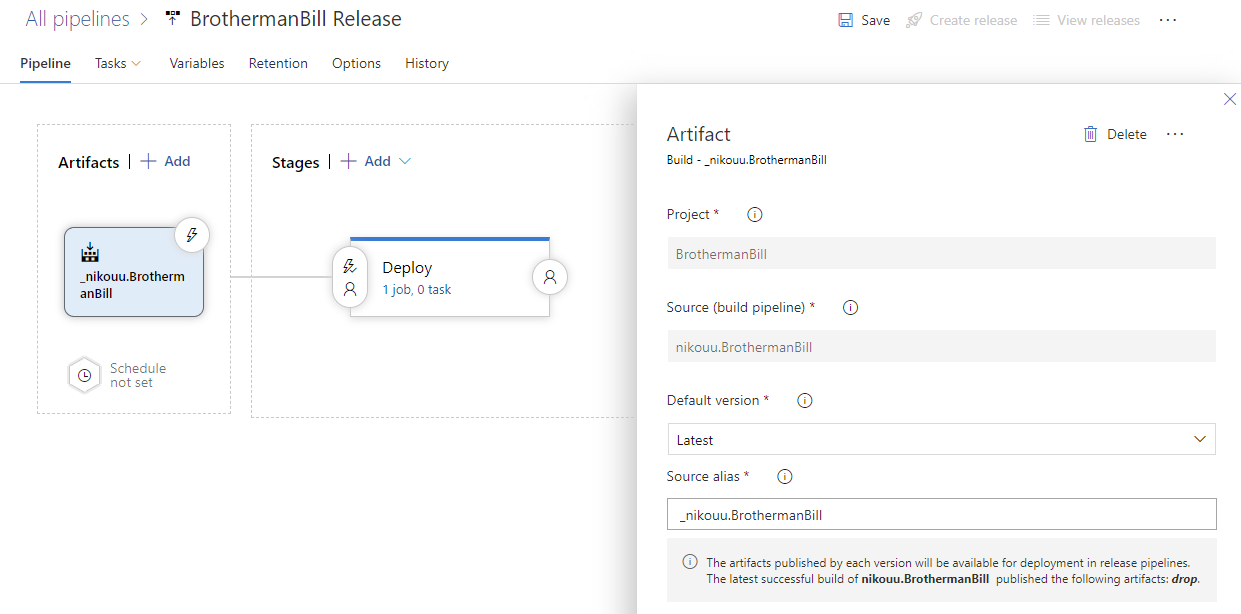
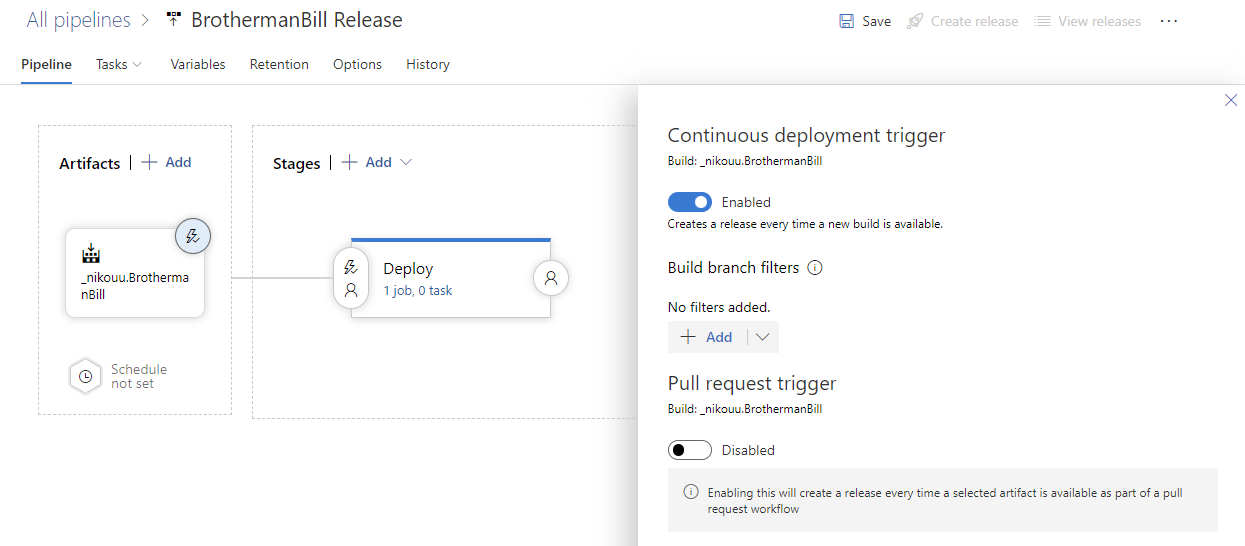
Since I'll be the only one to commit to this project, I'd like each commit to be deployed and this can be done by setting up the triggers - which is the lightning bolt icon to the top right of the artefact.
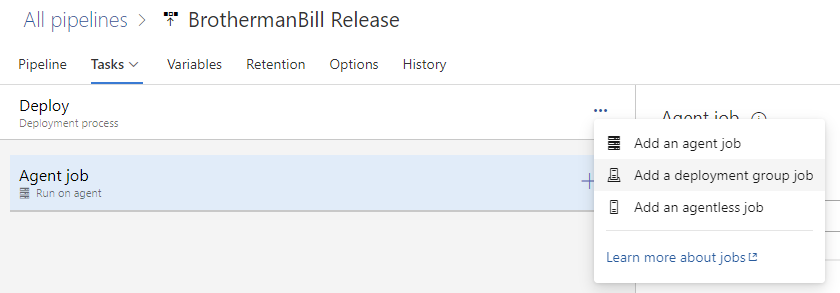
Now to set up some tasks. These tasks will run on the agent and do the appropriate file copying and running. To get to this, click in the "Deploy" stage where it says "1 job, 0 task" as this will take us to the tasks tab.
The default job is an agent job which isn't what we're looking for. Delete this and create a new deployment group job.
Here you can pick your previously set up deployment group, which in my case is BrothermanBill.
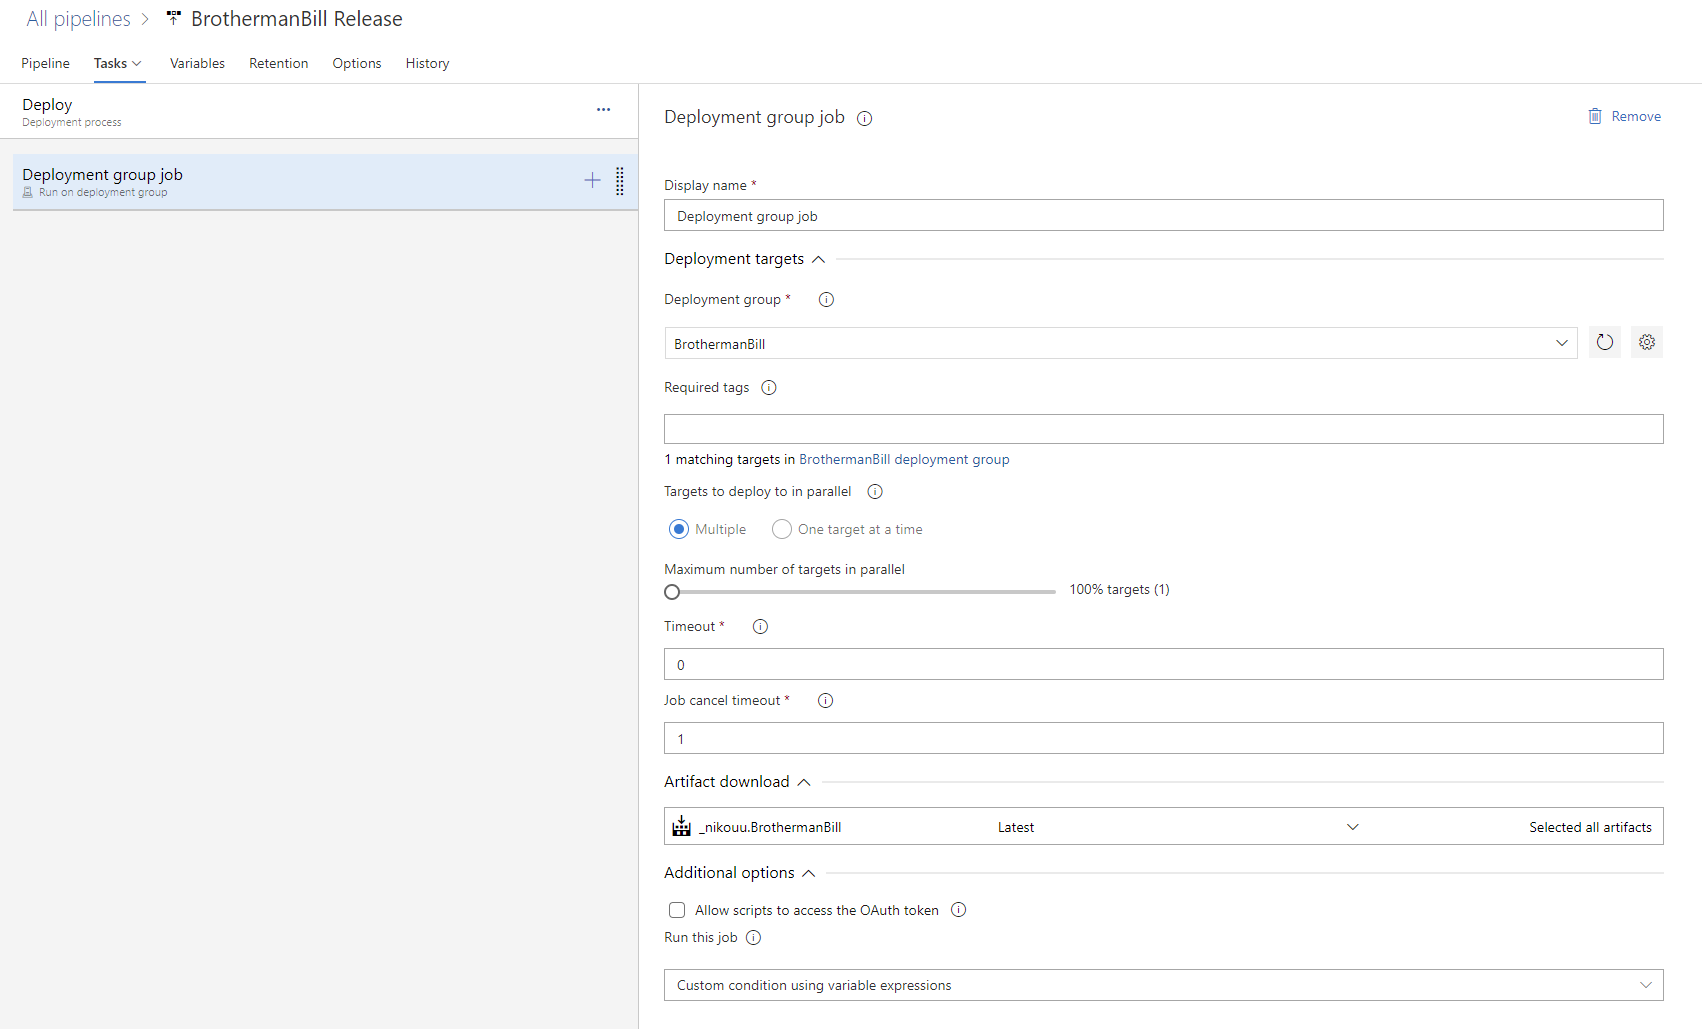
With the plus sign on the right of the deployment group job module, you can begin to add tasks to the job. Things like moving files, setting up processes, etc.
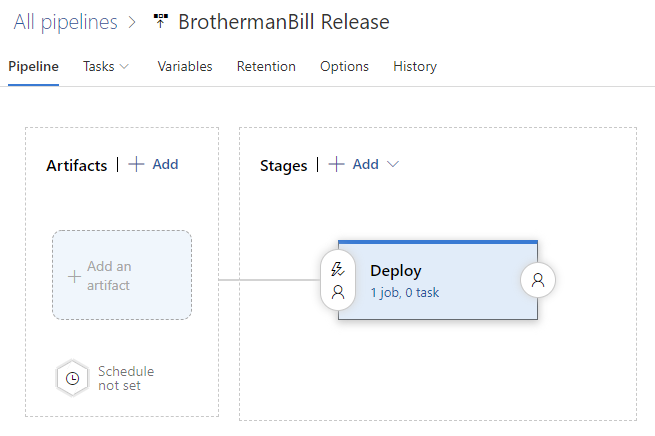
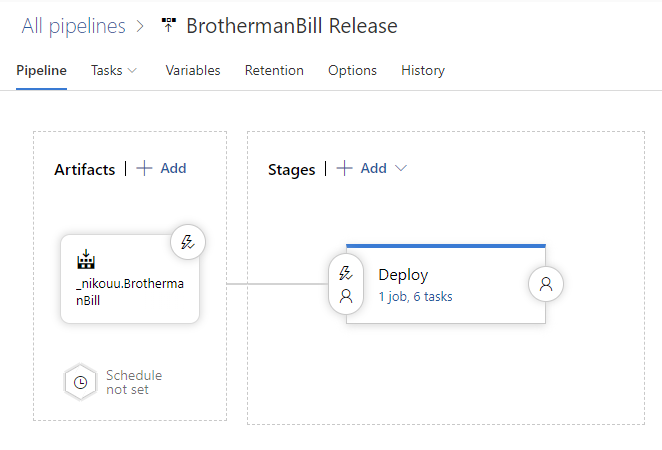
A look at my release pipeline:

To Conclude
Setting up continuous deployment from GitHub to a Raspberry Pi via Azure DevOps wasn't too bad! In respect to the build I'm using the free build hours but in a past life we had a dedicated on-prem machine to do the builds.
I hope this helps guide you a little on how to get started!