How to Have an Animated Feature Image in Your Ghost Blog Post
An animated feature image is always eye-catching but Ghost only allows specific file types for header images. In this post we'll look at an easy way to attract readers with an animated feature image.

If I want to catch the eyes of a potential reader, the only chance is a header image and some words - I'm going to make all of that count by adding a dash of movement.
We'll first look at competing file formats then go through a worked example by seeing how I created the featured image for this post.
File Formats
GIF
The classic. They've been around for ages but aren't what they used to be due to limitations of:
- No transparency
- File size scales too harshly with image size and length
We can see an example of a gif performing poorly with my post Making a Living Dex: Part 7:
 Niko Uusitalo
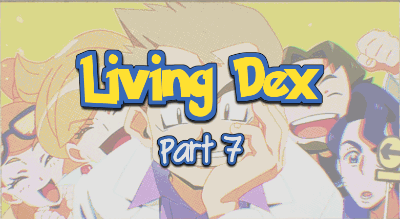
That header gif is only a couple of seconds long at 400x219 and ended up as a whopping 2.5mB! It will load 2.5mb on each preview (like above), on the posts page, and when read. We've got to do better.
MP4
I love how the web has adopted mp4 as the new "gif" standard. Way more efficient in size, can be encoded in all sorts of different ways to suit your needs, and can have sound.
I'd be using this type as my header except Ghost doesn't allow for it:

And if I try to add an mp4:
Meaning we have to keep looking.
SVG
An absolutely viable alternative if you're just using vector graphics. I used one in my post How I Added an Animation to the Browser Devtools Console:
Niko Uusitalo
The animated header is about 10 seconds long, 760x400 and comes in at a tiny 11.8kB.
The only problem is is the vector part. Most images you see and videos you watch probably aren't being animated due to maths - but rather pixels being painted. Meaning the header you see for this post you're reading, didn't use SVG animations.
WEBP
A newer file format from Google. It does great compression with either static or animated content. It supports transparency and can be lossy or lossless. Read about it here:


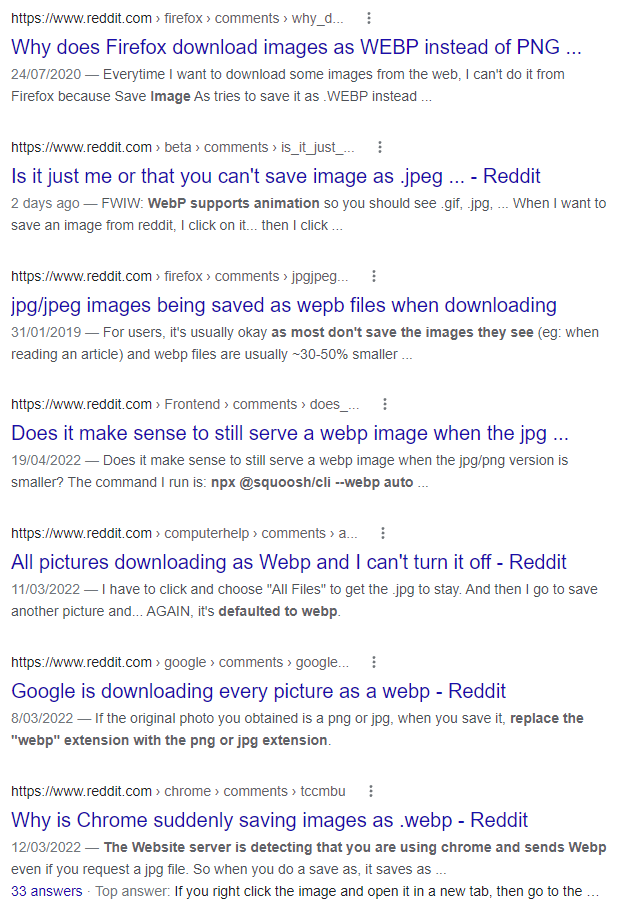
Though it's still somewhat earlyish days for this file format, and with any change there is a little bit of growing pain:
However, once all the normal image tooling understands this format (just like any other), we'll be fine. In fact, this is the file format we'll be using, and our tooling, including Ghost, understands and is just fine with this. We can see this from an earlier post of mine The Weird Things Roslyn Gets up To:
Niko Uusitalo
At a couple of seconds, 783x800, the header image weighs in at 210kB.
Now that we've picked out format, webp, time to get to creating!
Tool - ScreenToGif
Sure it has "Gif" in the name, but it does a lot more than that:
- Want to show a video for troubleshooting? ✅
- Want .gif, .mp4, .webp, mkv, mov? ✅
- Want basic video editing? ✅
- Want tools to help optimise and shrink your video? ✅
And so much more. For this post, we'll be using ScreenToGif to capture the video and write text on it for this header.
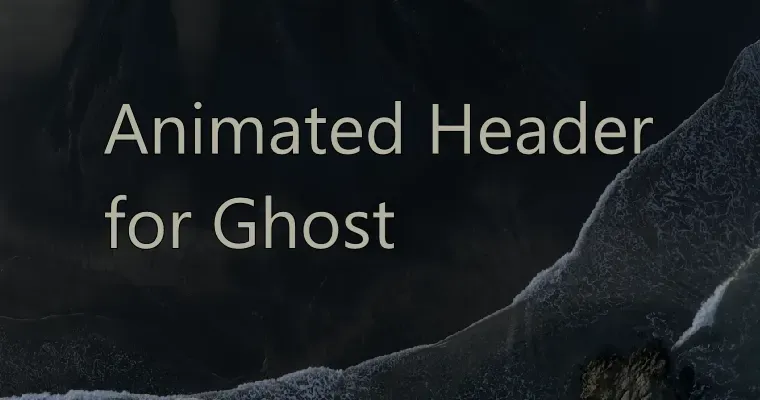
Step by Step Example
We'll recreate the feature image for this post. The video is for Words Like First Light by Levi Patel:
Step 1: Capture the video
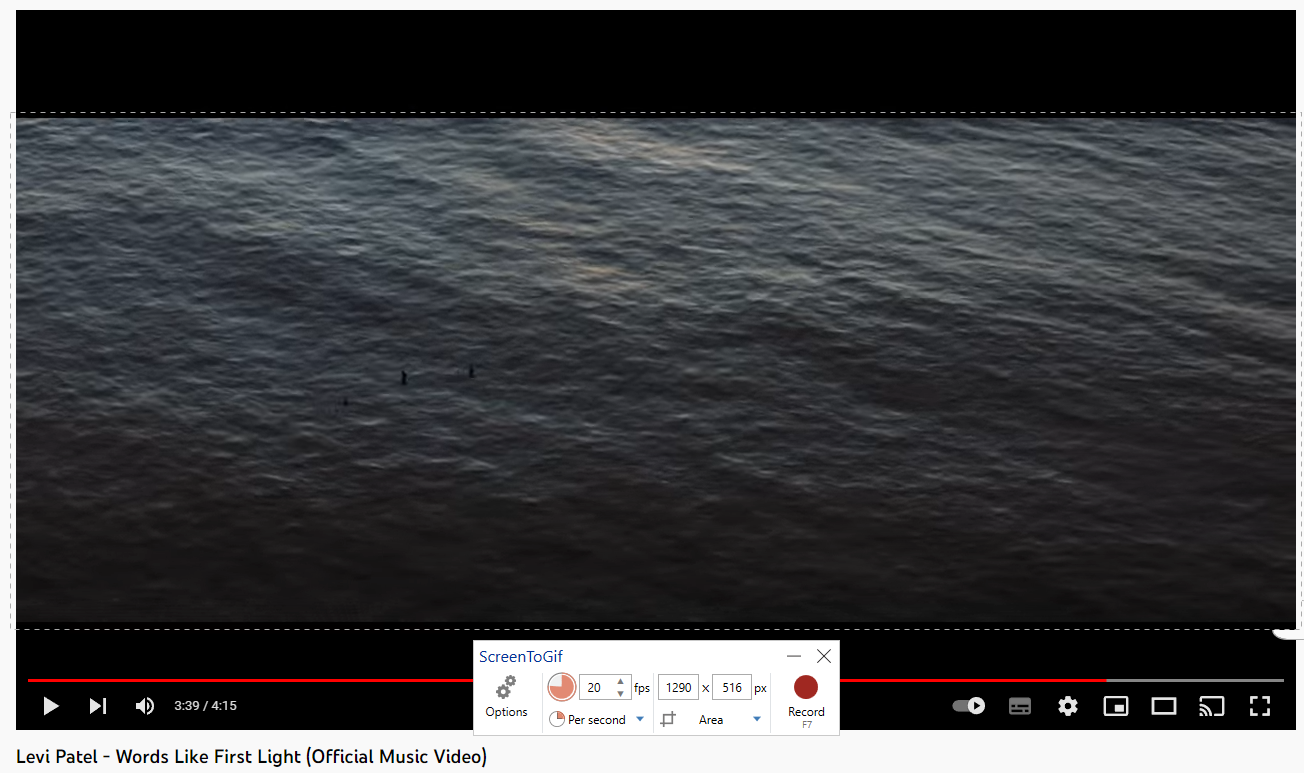
I scoped out the part I wanted to grab - a lovely ocean shot. Then selected the area to record. It's a little larger than the video because it's easy enough to crop it later. The framerate has been set to 20fps because I won't be needing high frames for this purpose which saves on file size.
Step 2: Tidy frames
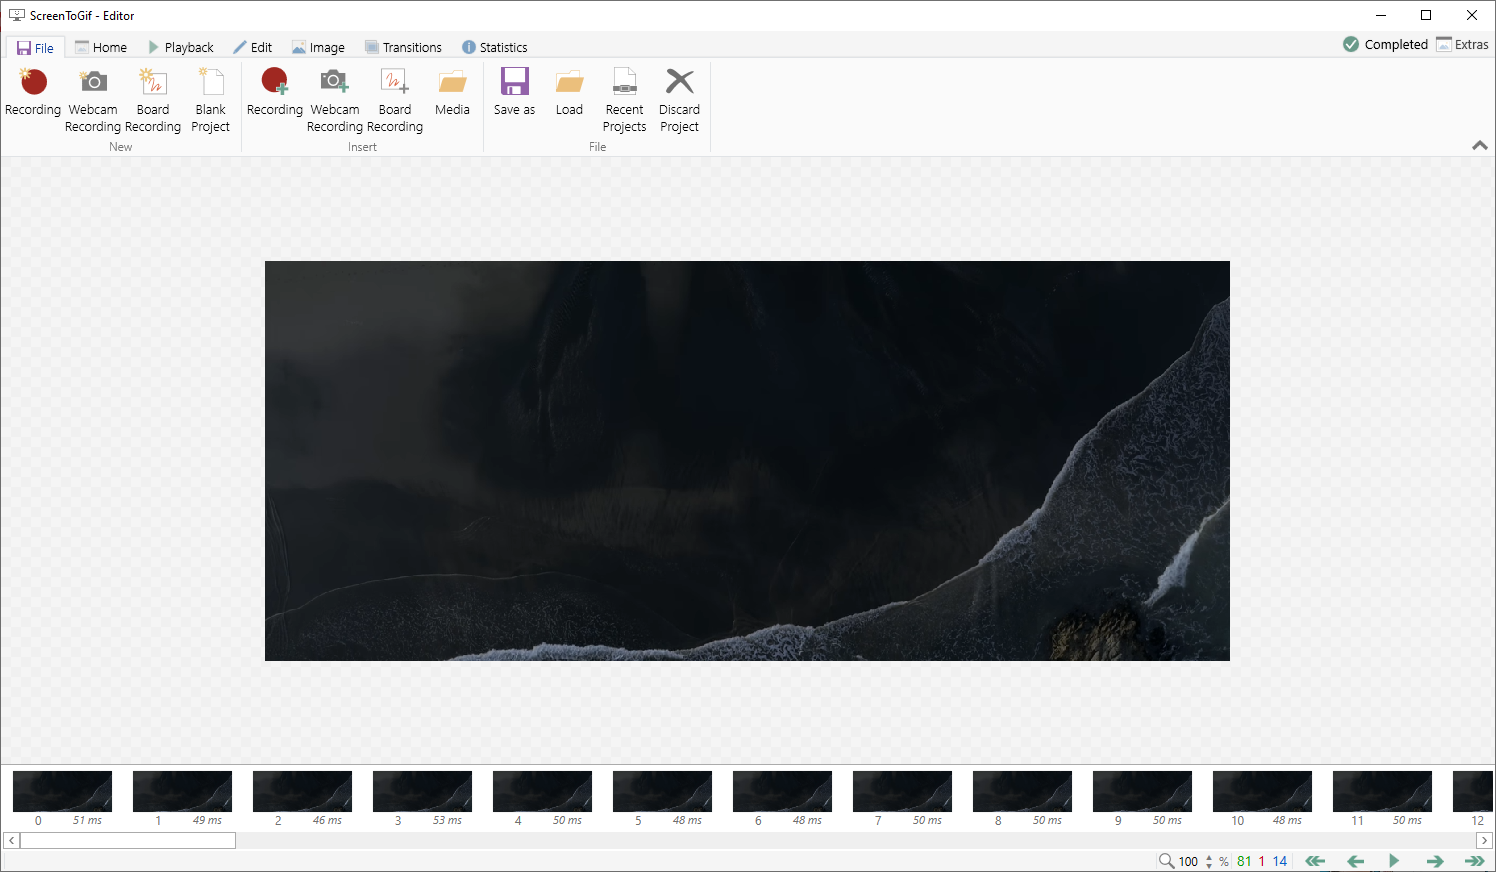
Here I:
- Remove excess frames from before and after the part I want
- Crop
- Resize
- Add text
A trick is to make sure all the frames are selected before applying changes - as it's completely valid for just a single selected frame to be up for editing.
Also keep in mind that this step is a major contributor to the final file size. If your file size is still too big, consider changing how many frames are in the video, or slightly reduce the width or height of the video.
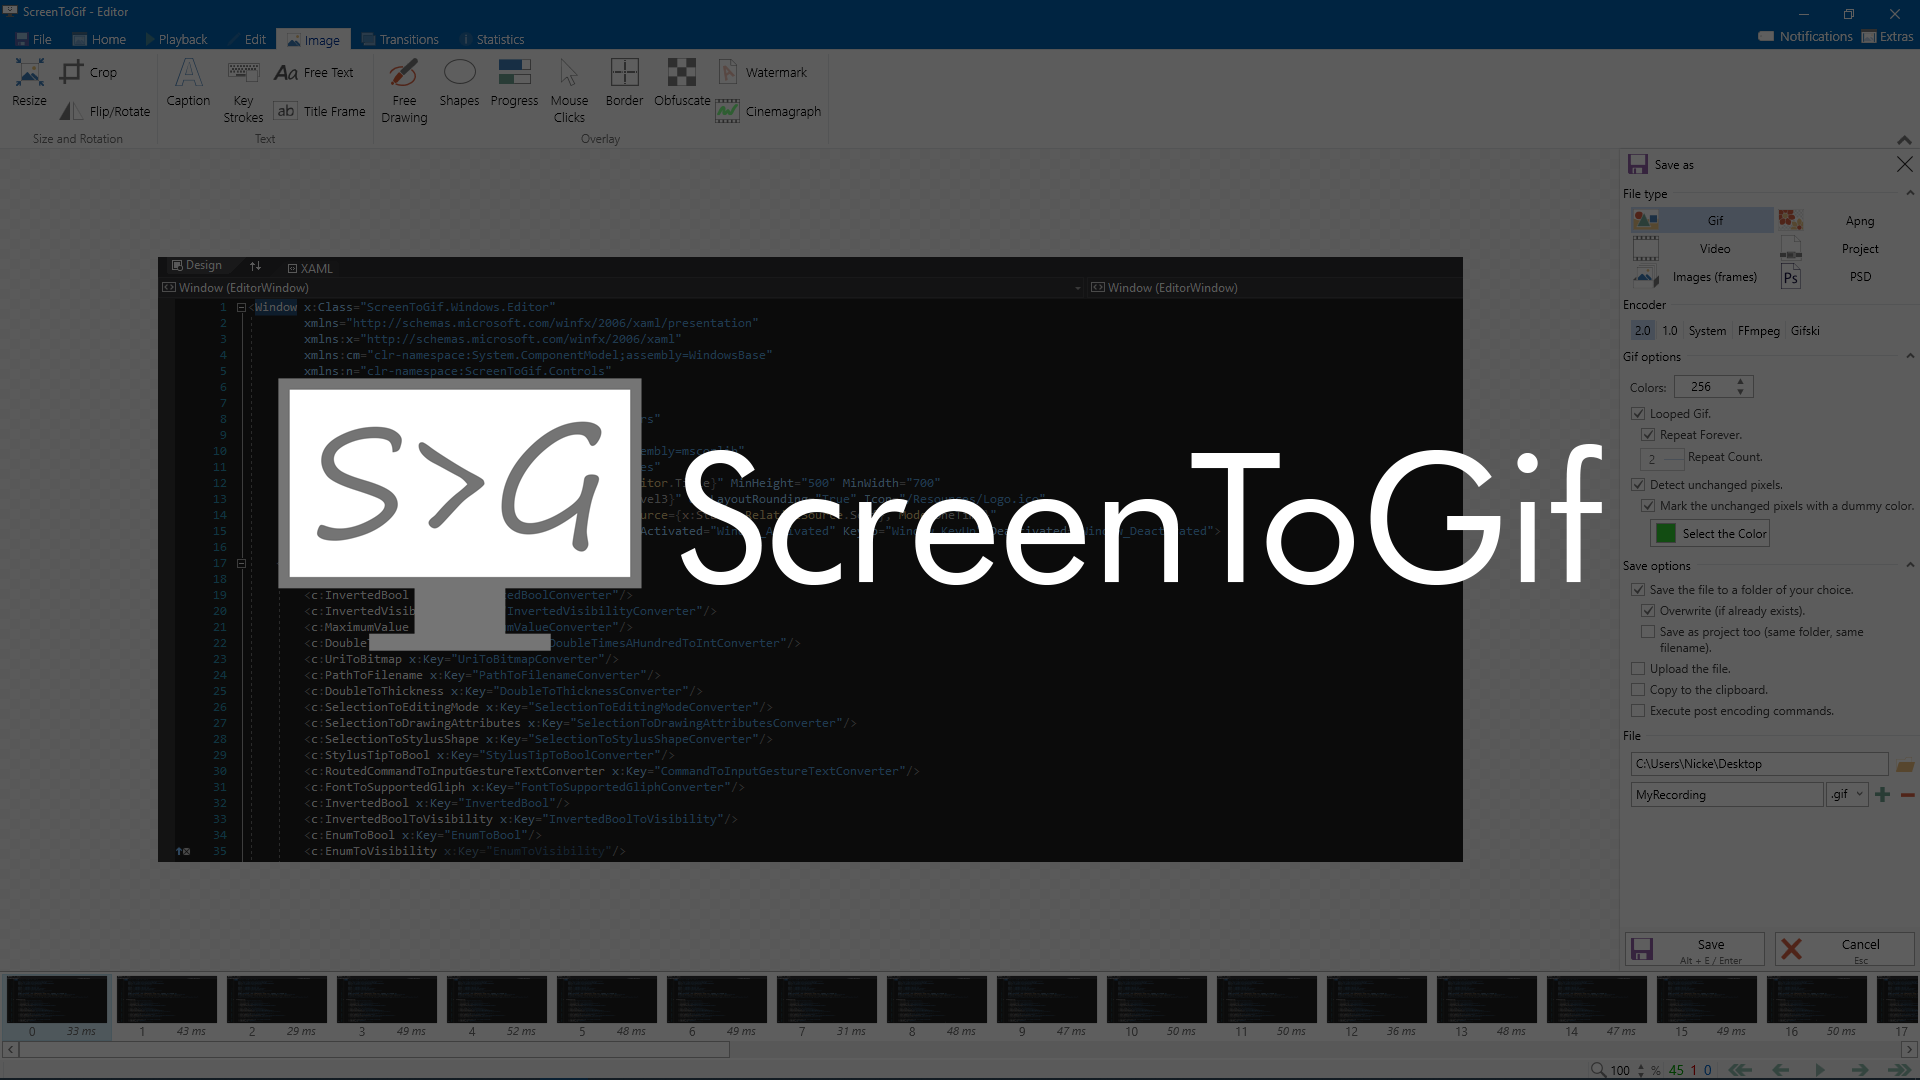
Step 3: Export
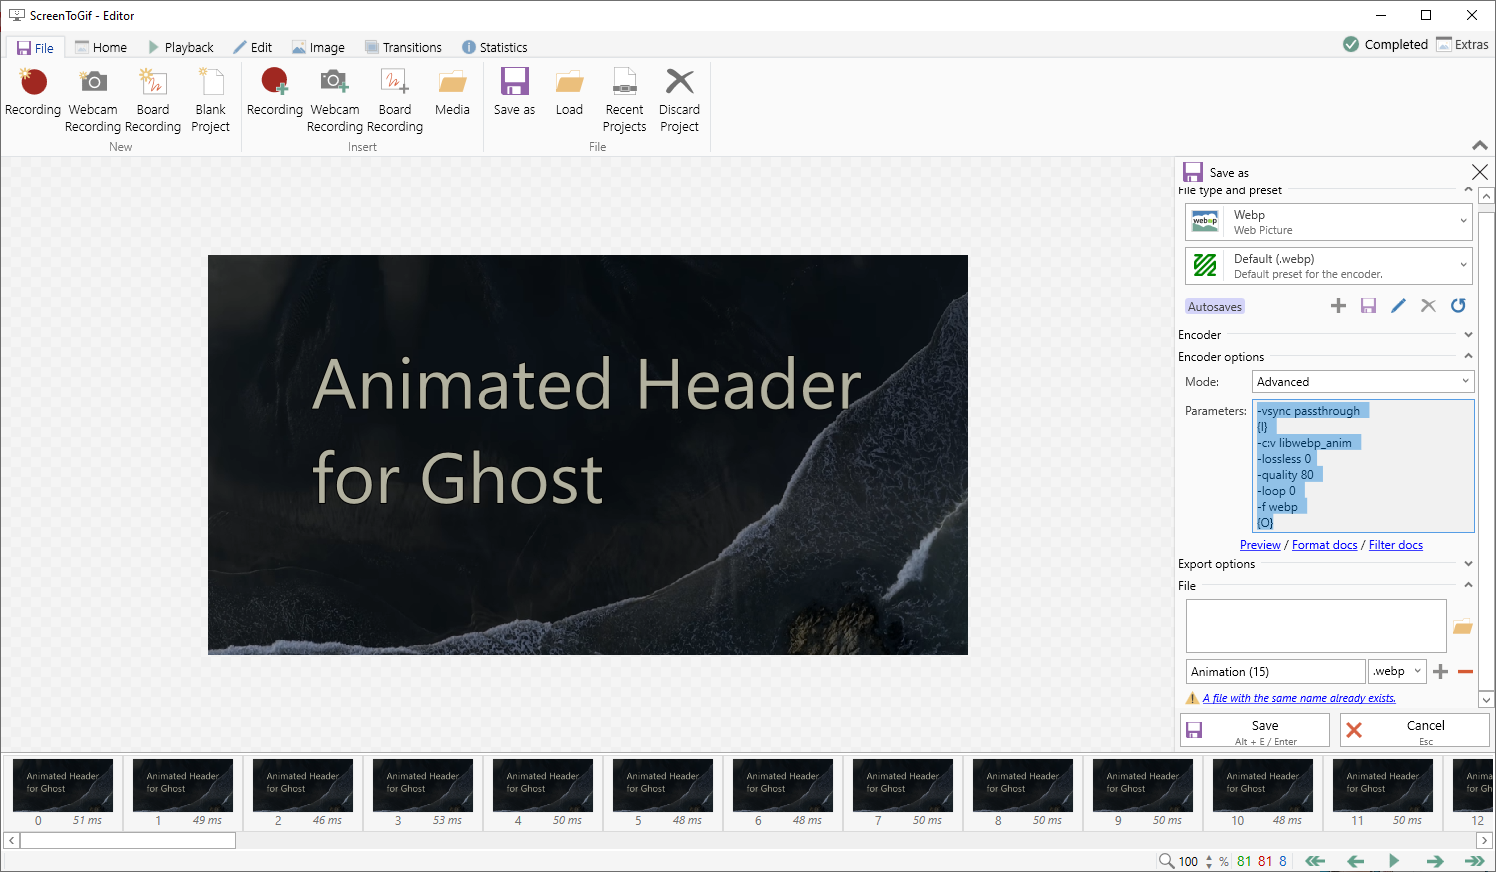
When saving there are numerous options and in this case I used the advanced mode for creating my webp. This advanced mode shows the flags sent to ffmpeg - which does the actual encoding and saving.
I felt I could get away with 80% quality which made the file size even smaller. My settings ended up being:
-vsync passthrough
{I}
-c:v libwebp_anim
-lossless 0
-quality 80
-loop 0
-f webp
{O}
And ultimately the result:
To Conclude
I hope this helps you get that attention grabbing featured image. Remember to to be considerate to your readers and be cautious around the size of the image. But otherwise, go nuts!
Check out more music by Levi Patel (I'm not sponsored 😁) either on his website, https://levipatel.com/ or on Spotify: