Installing Raspberry Pi OS on an SD Card for a Raspberry Pi
Simple instructions on getting a Raspberry Pi setup with Raspberry Pi OS including how to expand the drive to take the whole SD card.
😍
After writing this post, version 1.7 of the Raspberry Pi Imager released allowing you to setup additional options at the time of imaging such as enabling SSH, setting username and password, configuring WI-FI, and more!
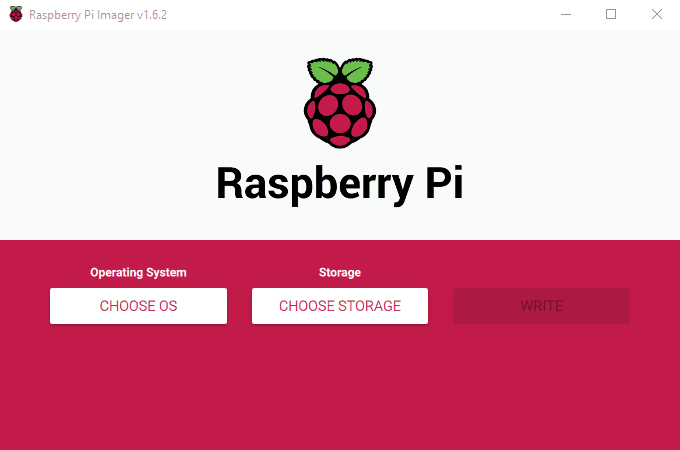
- Download the Raspberry Pi Imager
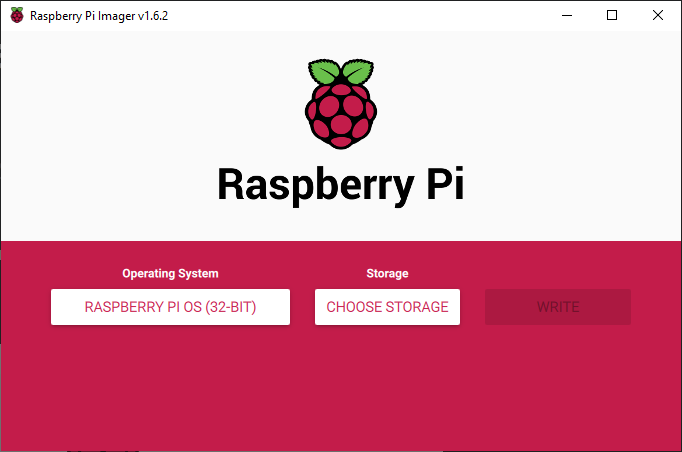
- Pick the operating system: Raspberry Pi OS in the imaging software
- Pick your storage to be your SD card
- Click Write
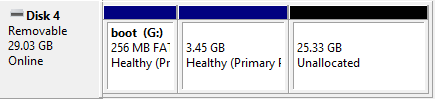
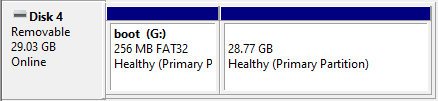
This results in the SD card having a boot sector, some storage, and a whole bunch of unallocated space:
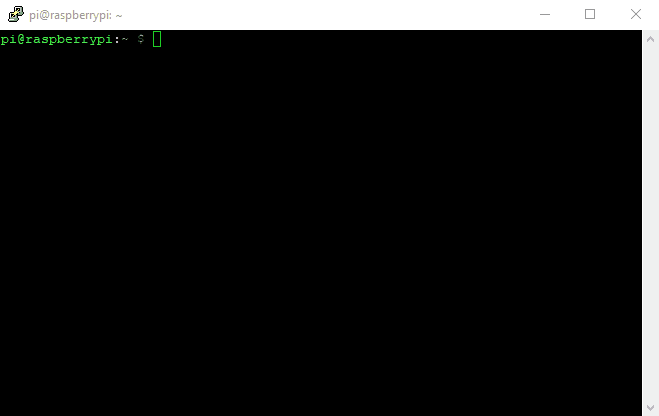
With a keyboard and monitor plugged in or via SSH (which could be setup via the Raspberry Pi Imager v1.7+ or via my post around running the Pi headless), we can make use of the whole drive, with the following:
- Run
sudo raspi-config - Navigate to "6. Advanced Options"
- Hit enter on "A1 Expand Filesystem". This will expand drive on next reboot
- Reboot system (
sudo reboot)
Following the reboot, the drive will be expanded to take the remaining unallocated space. Putting the SD card back into Windows after the reboot shows us the space has now been allocated:
And with that, you're good to go with your clean Raspberry Pi.